Your cart is currently empty!
Soda Ash: The Rustic Patina of Handcrafted Soap
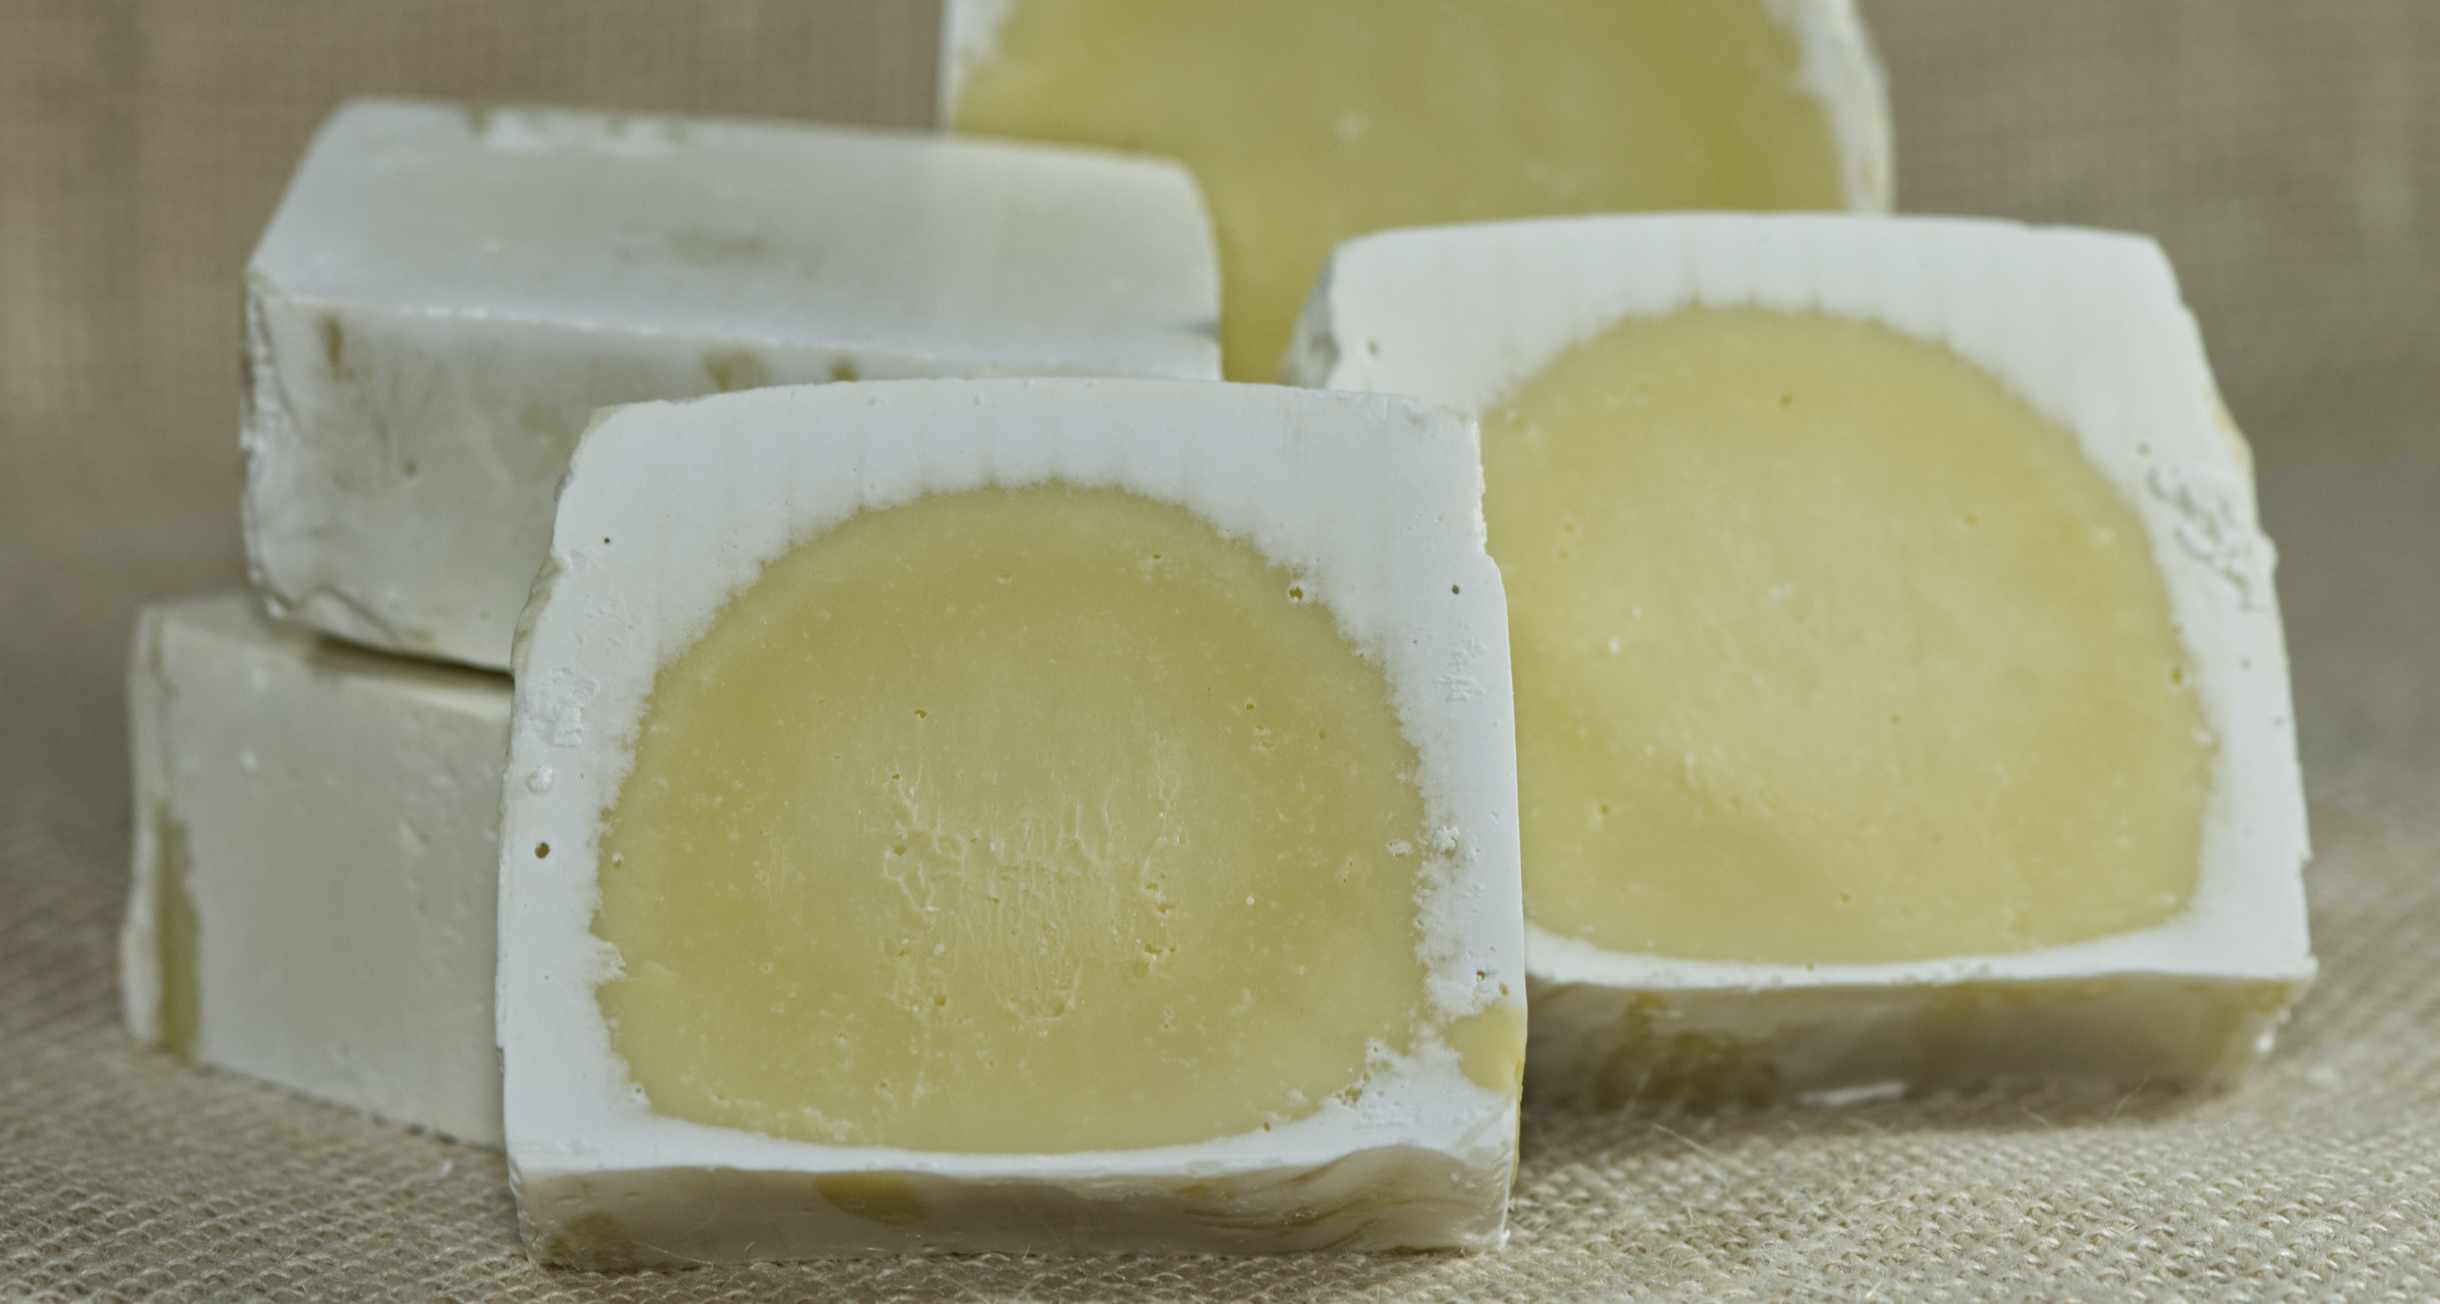
If you’ve encountered a white powdery residue on the surface of your homemade soap, you are not alone. Many soap crafters experience this annoying quirk of their bubbly creations. In soapmaking lingo, this light-colored or white chalky cast on soap surface is referred as soda ash.
Soda ash is nothing but a harmless idiosyncrasy of some cold processed soaps.

Many homesteaders like this rustic patina because it adds an authentic charm to the homemade soap bars. Some soap makers, however, prefer glossy and colorful bars of soap. Soda ash can be a bane making soap less aesthetic and not very presentable to potential buyers.
The conventional soda ash is a chemical compound called sodium carbonate (Na2CO3) also known as washing soda.
Soap makers speculate that soda ash on their soap bars may be the true soda ash, or it may be some other salts, or soap crystals. Soda ash on a soap surface is, most likely, a combination of all of the above.
I have never detected washing soda (sodium carbonate), or baking soda (sodium bicarbonate), or sodium hydroxide when I test my soap bars with this white layer.
A simple vinegar test I describe in the next chapter, confirms the absence of washing soda or baking soda in my soap. I do not discount the fact that some soap makers do have the true soda ash (sodium carbonate) in the layer. I have never detected it.
Kevin M. Dunn in “Scientific Soapmaking: The Chemistry of the Cold Process” describes the term “soda ash” as either sodium carbonate, or soap crystals, or even sodium hydroxide (excess lye).
Excess lye should never be present in the soap. If you have soda ash phenomenon on your soap, check for a possibility of excess lye. Check your recipe to make sure that the lye and oils are balanced. Even if your calculations are correct, there is a possibility, that one oil component may have been missed in the making. Cut your soap into smaller pieces and examine the cut surfaces for white speckles and fragments. Unreacted lye is found everywhere inside the soap, not just on the surface.
Formation of Soda Ash on Soap

Soda ash forms while soap is incubating in the mold or curing. If your goal is to avoid soda ash you may want to explore possible origins of this harmless, but unsightly phenomenon.
Possible components of soda ash are soap crystals, soda ash, and other salts.
Soap Crystals
Susan Miller Cavitch proposed her theory of soda ash in “The Soapmaker’s Companion”. According to Cavitch, the hygroscopic* glycerine in handmade soap attracts water from the air to the soap surface. Soap particles dissolve in the water and dislodge from the rest of the bar. When the separated soap particles dry, they crystallize forming the powdery appearance.

* Hygroscopic substance attracts water molecules from the environment. Glycerine molecules have polarity so are the water molecules. Because of their polarity, glycerine attracts water. Hygroscopy makes glycerine an excellent skin moisturizer. You can read more about hygroscopy in Wikipedia.
True Soda Ash
Some soap makers believe that when soap is in the molds or when it’s curing, a small portion of free sodium hydroxide on the soap surface reacts with carbon dioxide in the air forming sodium carbonate or true soda ash. This is unlikely though, because the saponification reaction is almost complete and irreversible at the time of trace.
Sodium carbonate and other salts may form during early stages of saponification before the trace. A small portion of sodium, released from the lye, may react with carbon dioxide from the air mixed in by an immersion blender. Sodium carbonate, sodium bicarbonate, and other salts are possible in the mixture in minute amounts.
Sodium will not free itself from the soap salts under the normal conditions. There is not enough free sodium in the soap and not enough of carbon dioxide (at 0.04% in the air) to form any significant soda ash on the surface.

Other Salts
Similar to the formation of soda ash, other salts may form before the trace.
These salts form, because the oils, fats, and water used to make soap are not pure. They contain minerals and many impurities that also react with sodium from lye and with each other.
Soda ash on the soap surface is not just a simple and pure chemical compound. It is a combination of salts formed in the soap and brought out to the surface, as well as soap crystals associated with moisture in the air.
Surfacing of the Salts
How does soda ash get to the surface of the soap bar?
Soap in the mold contains water while it cures. In fact, soap curing is the drying process for the most part. Water evaporates from the soap, and the soap hardens. Salts are water soluble. When water moves to the surface, it carries salt molecules with it. When water reaches the surface, it evaporates leaving concentrated salt deposits.
In this case, the soap works like a filter. Surfacing of the salts depends on how dense this filter is. When the density of soap is low, salts are carried out by the water very easily and become deposited on the surface forming the notorious soda ash. When soap is dense, it hinders salt molecules from moving all the way to the surface. Water escapes before salt reaches the surface. And soda ash does not form.
The low soap density is not the only factor for soda ash. Formation of this soap veneer depends on many conditions. Let’s take a look at some reasons that soap makers found to cause soda ash on their creations.
Possible Reasons for Soda Ash
Soap Recipes, Additives and other Ingredients
- Too much water in the recipe
- Water flushes out salts to the surface forming soda ash veneer.
- Water also contains ions that react and form salts.
- Too high lye discount / superfat level
- Minerals and ions in the oils react with the lye and with each other forming salts.
- Oils used in the soap recipe
- Mechanisms of soda ash depend on individual oils and their combinations.
Physical and Environmental Causes
- Low density of the soap
- Low soap density allows more salts to come to the surface.
- It may also allow soap crystallization inside the bar.
- Thin trace
- If the trace is too thin when you pour soap into the molds, you may encounter soda ash on the surface and even inside the soap. Thin trace means very incomplete saponification. You need to keep mixing soap batter to introduce as many triglycerides to lye as possible. Otherwise lye can react with other ions forming unwanted salts.
- Thinly traced soaps have lower density and produce more soda ash that thickly traced soaps.
- Certain fragrance oils and essential oils may decrease soap density
- Low temperature of the fats
- If the fats are too cool (below 100º F) when lye water is added to them, soda ash may form within the soap bar and not just on the surface.
- Cold and humid environment
- More than one mechanism is responsible for soda ash formation:
- Low temperatures and high humidity in the air cause moisture condensation on the curing soap. The soap particles dissolve in the moisture. When soap dries, the freed soap particles crystallize on the surface.
- In dry air, salt-bearing moisture evaporates before it reaches the surface, which prevents soda ash formation. In high humidity, however, salts and moisture reach the surface more easily. Water evaporates depositing the salts on the surface.
- More than one mechanism is responsible for soda ash formation:
- Soap in the mold cooling too fast
Some Ways to Prevent Soda Ash from Forming
- Reduce water in your recipe
- A good rule of thumb for water: 2 times lye, 1.5 times lye or 1.1 times lye. You can use as little as 1.1 : 1 water to lye ratio in your recipe as described here.
- Lower lye discount/superfat
- Try not to exceed 10% discount.
- Spritz soap with rubbing alcohol
- After pouring into molds.
- At first sign of gel.
- After unmolding.
- Alcohol dries any moisture on the surface preventing crystallization of the soap particles.
- Use distilled or rain water instead of tap or well water
- Tap and well water are high in minerals that may react with lye and deposit on the soap surface or even aggregate within the soap bars.
- Mix lye water and oils at a higher temperature
- Temperatures 100º – 135º F is a good range.
- Keep lye-water temperature and fats temperature within 10º – 15º of each other.
- Strive to achieve a thick trace.
- Saponification is close to completion with less free sodium ions before pouring soap into molds.
- Slow cooling
- Insulate soap in the mold to insure that it cools slowly.
- Reduce contact with air
- Cover the soap with plastic wrap after it’s poured in the mold to reduce contact with air.
- It’s not advisable with milk soaps because they can’t overheat.
- Add up to 1% beeswax
- Beeswax makes the soap denser, thus trapping salts inside the soap rather than letting them move to the surface.
- Reduce ambient air humidity.
- Use dehumidifier
You may take all measures to avoid soda ash, but it still shows up on your soap. There are ways to remove the unsightly overlay.
Removing Soda Ash
Soda ash is water soluble. You can carefully wash it off with water, rubbing alcohol, or steam. You can scrub it off with try cloth or scrape it off with a knife or a veggie peeler.
Briefly dip each soap bar in cold water. Set wet bars on paper towels and let them dry naturally. Wear gloves to avoid leaving fingerprints on your soap.
- Gently scrub away soda ash with dry paper towels or steel wool. Some soap makers use nylons. You can reuse them for cleaning other batches of soap.
- Spritz soap bar with 91-96% rubbing alcohol and let it dry. You don’t need to rub the soap surface.
- Steam the soap and let it dry.
- Boil some water in a pot or a tea kettle and hold the soap over the steam. Don’t scald your hands.
- You can use clothes steamer, or steaming iron.
- A good way to steam big batches of soap is by placing your soap into a plastic tub with a glass of boiling water. Close the tub to keep the steam in. You may have to replace your hot water two or three times. It’s much safer than holding soap over the steam. This method is good for large batches of soap.
- If you are not worried about the shape of your soap, you can scrape it off with a knife or a veggie peeler.

My personal preference is to avoid soda ash. Removing it can be messy and damaging to the soap surface. If I have a batch with soda ash, I use it at home, or shave it to make laundry detergent. My goal is to modify my recipes so that I do not have soda ash. And then, I can give the pretty soap to my family, friends, and neighbors.